
Without further ado, here's Emily!
Hi Y'all! My name is Emily and my blog is called A Tossed Salad Life. I'm so happy to be here at Craft A Spell sharing a project with you. Thanks Dianna!
Some people wonder how my blog got its name. I have two boys, a big one and a little one, and my husband is my big kiddo's stepfather, Some people might call us "blended" family. When I was engaged to my fabulous husband, a friend and mentor told me that living in a step-family was less like a blended smoothie, and more like a tossed salad. Each person has his/her own special flavor that stands alone, but together all of the pieces make something delicious.
My blog includes deals with children, cookies, crafts and crock-pot creations, I'd love it for you to stop by or connect with me via Facebook, Twitter, Instagram or Pinterest.

Today I'm going to show you how you can use the survival bracelet techniques to make a great, sturdy dog collar. Earlier this summer, I made my big kid, "The Frog," a paracord bracelet in the colors of his swim team. He's really enjoyed his bracelets, and generally wears one every day. A few weeks ago, the Frog noticed that our dog's collar was looking a little ragged, and he told me that I needed to make Buster a collar like his paracord bracelets. I ordered some cherry red and electric blue 550 paracord. There are different strengths of paracord, but 550 is usually the standard type that you can find at the craft store. I also found a specialty dog collar buckle with a reflector and a D-ring. I had to order this as well, but you could use a d-ring that you bought at the craft store and a traditional buckle clip. I've seen those at the majority of craft stores. You'll also need scissors and a lighter.

To start, you'll need to measure how long you need to make the collar. I took a length of the cord, and wrapped it around Buster's neck. I then added a little length for slack-- when you braid, it will shrink up a bit (or at least mine does!). I really didn't want the collar to be too tight on Buster. Next I added 8 inches for every 1 inch of the collar. Now, I've seen people say that you need 1 foot for every inch, but I've tried to determine how to reduce the scraps of extra paracord. If you have never made a Paracord bracelet before, I would recommend that you check out the wonderful collection of YouTube videos. Just type in "paracord survival bracelet," and you'll be shocked by all of the options out there. I personally think that this is one of the best ones for your first paracord project. Once you have the two pieces of cord cut, you'll need to attach the cord to the two pieces of the buckle. You make knots on each end of the buckles like this:

Next, I connected the two colors of paracord together by cutting them, slipping the end of one color into the end of another and fusing them with my lighter. When you've done that, the joined colors will look like this:

I made sure that I adjusted the length of the collar to fit Buster again. Now that everything was joined together and attached to the buckle ends, I tried it out on Buster before I started braiding. (Now if you don't get the measurements quite right, you can always unbraid it and make adjustments. Believe me, I've had to do that before!) Here's picture of the paracord set up and measured before I started braiding:

There are dozens of different braiding styles. I used the most basic Double Cobra braid for Buster's collar, I knew how wide and strong the braid would be, and I though it would be just right for a collar. Again, if you've never completed the double cobra braid, and want a step by step guide, you can check out this video or visit this tutorial I wrote. The only difference I think that makes the dog collar special is the addition of the d-ring. I wanted my d-ring to be a little bit away from the buckle, but you might want it right next to the buckle. Its position is up to you. However, to add it, you'll make one tight knot, and then slide the d-ring beneath the knot, and then continue braiding, so it looks a bit like this:

Once you have finished braiding, you snip off the ends of the paracord between one-eighth and one-fourth of an inch from the collar. Use your lighter to melt the snipped ends into the collar and let it cool and harden to prevent unbraiding. Now, before I cut the ends off, I double check to make sure that the length is correct. Remember measure twice (or 3 times!) and cut once!
Add the ID tags to the D-ring and put it around the dog's collar, and see if
your puppy likes the collar as well as Buster likes his!
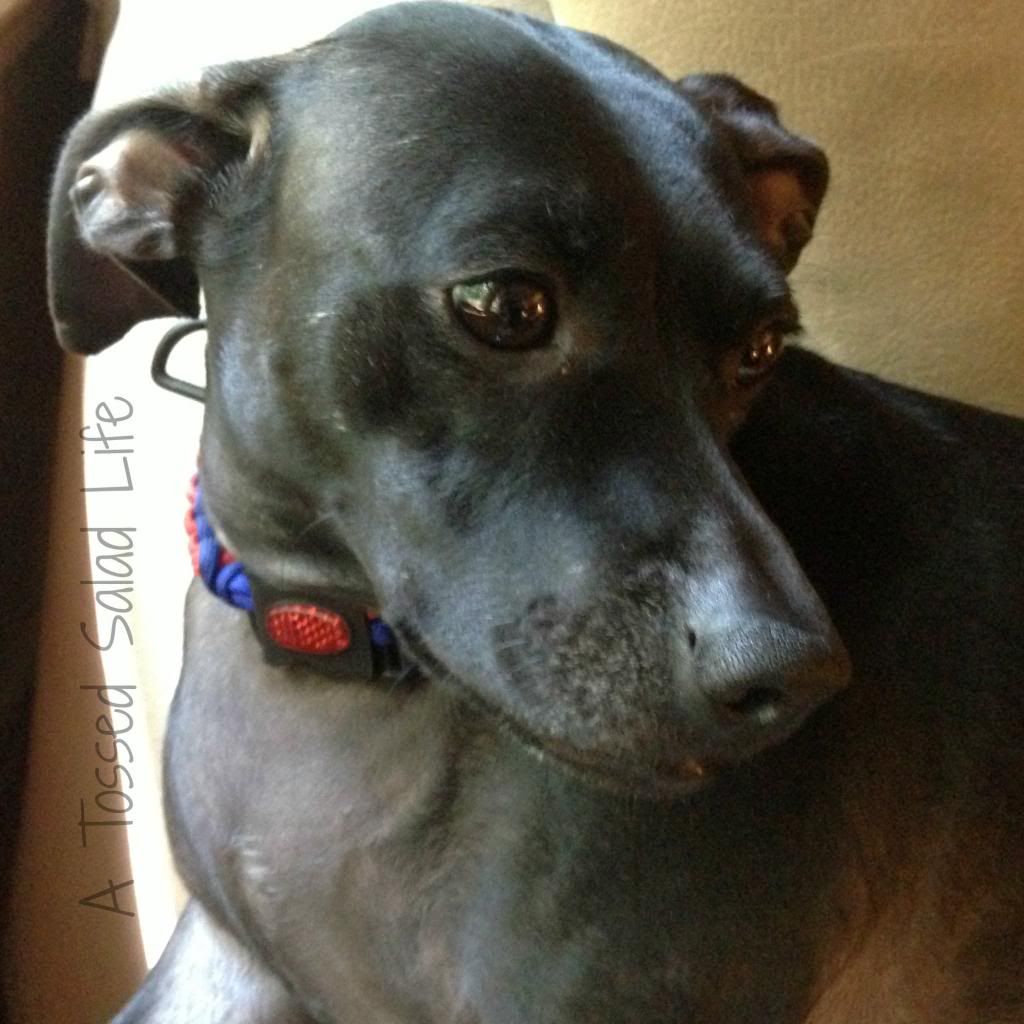

How cute is Buster (we used to have a doggie named Buster when I was little)! It looks like he's enjoying his collar! I hope you will visit Emily's blog and check her out! Thanks for stopping by, Emily!
This is awesome!
ReplyDeleteThanks
ReplyDelete